How screen printing works.
Artwork Prep
Your artwork is created on the computer. Each individual color is separated into a black image and is then printed on its own transparent film.

Screen Coating
A special coating called emulsion goes on a fine mesh screen and left to air dry in a dark room. The emulsion is not completely hardened until exposed to a UV light.

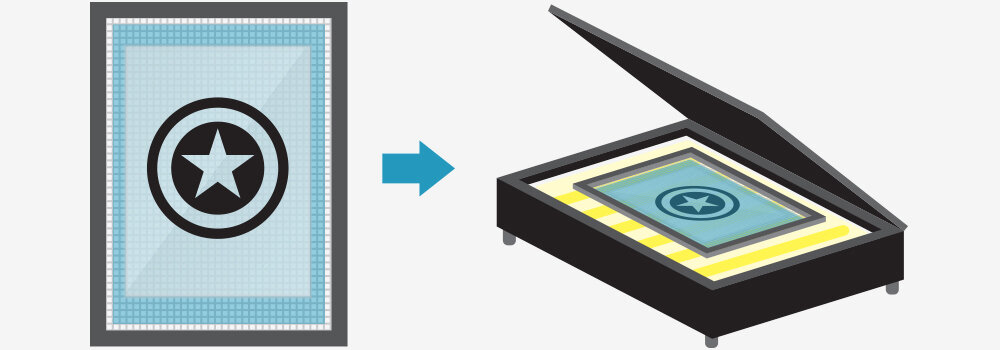
UV Light Exposure
Each film is taped to a screen. The screen is put on a light table, the lid is closed and all the air is vacuumed out. The image on the film blocks any UV light from hitting the emulsion in the image area, while hardening the rest of the emulsion.
Creating a Stencil
Once the screen is done in the light table it is then taken to an area where the unexposed emulsion under the image gets washed away with water, which then creates a stencil of your artwork.

Press Set-up
Each screen is taped around the edges and then clamped to our press and carefully set into place so each color perfectly lines up with each other.

Printing
Shirts are placed over the boards and held in place using adhesive. The ink is then placed on each screen. A squeegee is then used to push the ink through the stencil onto the shirt. A flash dryer is used to dry the ink in between each color so your print does not get smudged.

Ink Curing
Once all the colors are printed, the shirt is put into a conveyor dryer which heats up and cures the ink at 350 degrees to insure a long lasting print.

Screen Washing
Once the order is complete we remove the screens. We spray a solution on the emulsion which causes it to dissolve. The screen is then pressure washed clean and dried. We reuse the screen to start the process over again for the next order.
